Getting started with Azure Cosmos DB
In this post I’m going to walk you through how to use the Azure portal to create a new Cosmos DB and then how to create a database, a collection, a document, and then query for the document, all from the portal.
(1) Create a new Cosmos DB
In the azure portal, click on “Create a resource” and start searching for “Cosmos DB”. Once it shows up in the search results, possibly as “Azure Cosmos DB” click on it and you should see this “New Account” blade:
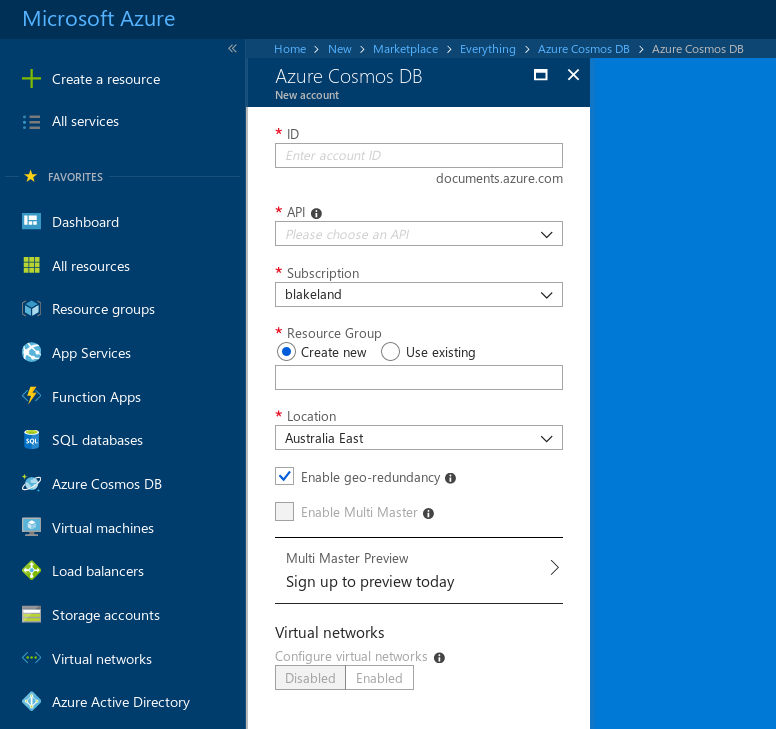
You will then need to create a globally unique id for your Cosmos DB. Because this is just a demo db that I’m going to throw away I just created a 31 character random string “45c6c5768a11937faa708eb2fb0587e” for my db id.
Next you will need to choose which Cosmos DB API type you would like to use. Here are the options you can choose from:
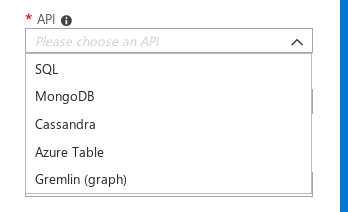
For this example we are going to pick “SQL” which is the “DocumentDB” type.
Now go ahead and choose the resource group you want to use or create a new one. For this example let’s just create a new resource group called: “blog-20180823”.
Now choose the location for you Document DB. I’m going to choose “Central US”.
I’m also going to turn off geo-redundancy and not turn on Multi Master. I’m also not going to configure a virtual network.
Now you can click “Create”.
(2) Create a database
Once our cosmos db instance has been created click on it in the azure portal and then select “Data Explorer”. Your screen should now look something like:
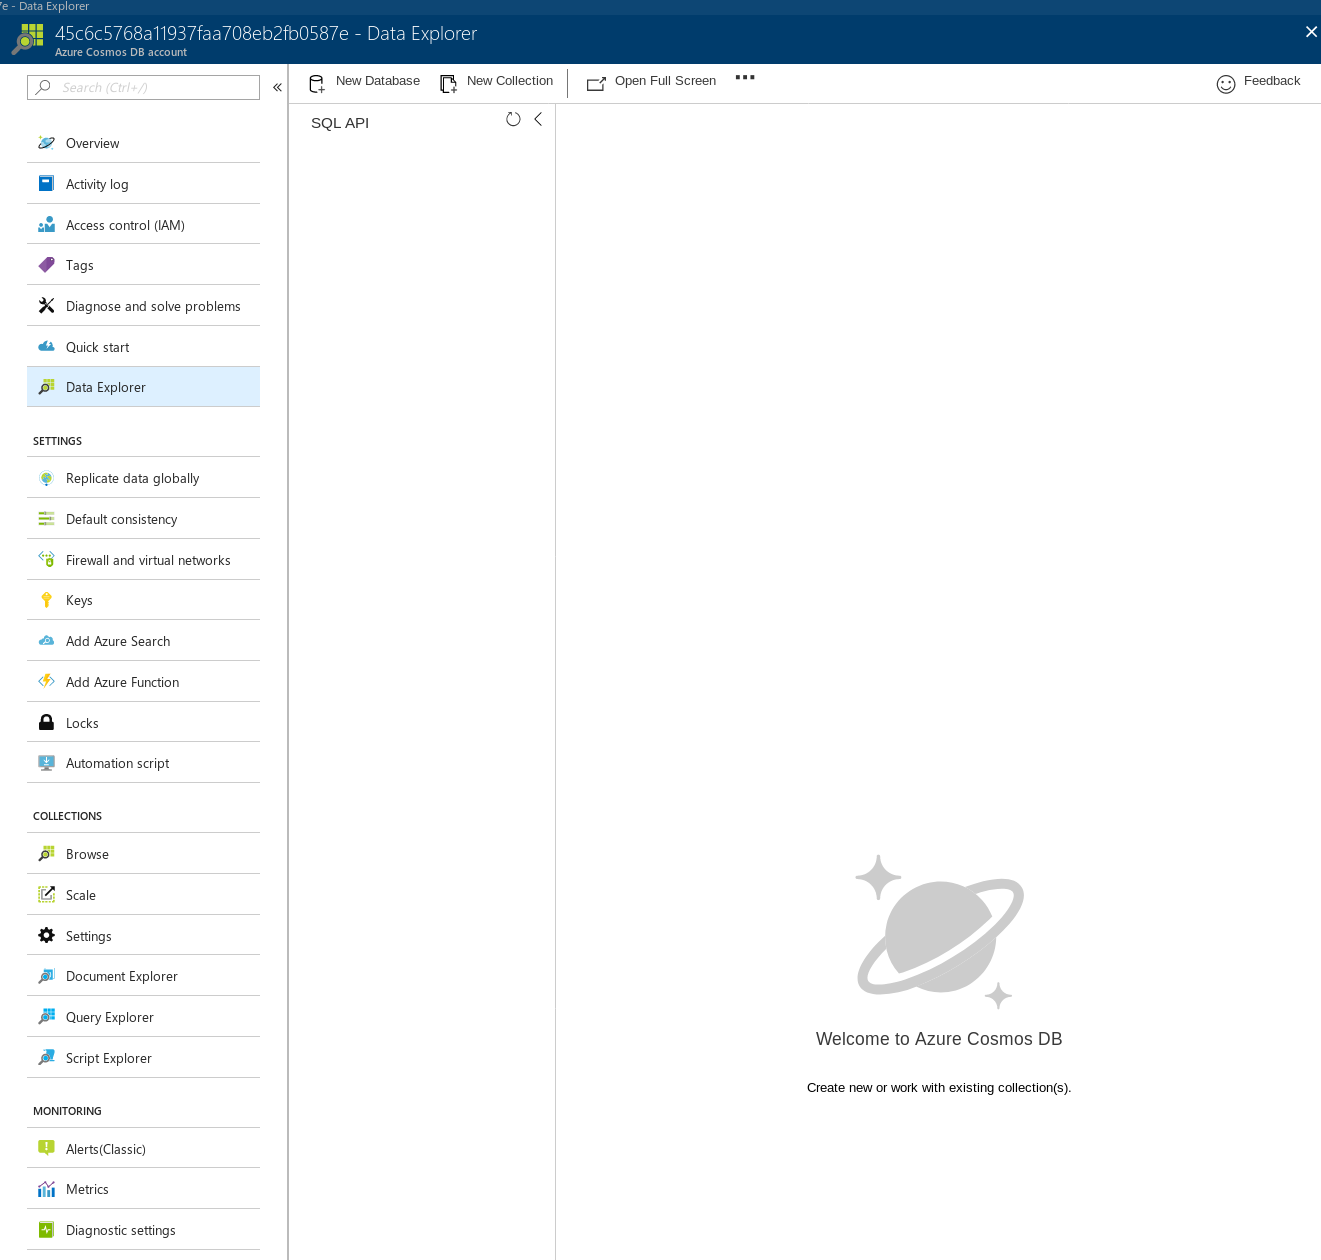
From this screen select “New Database”. A new blade will open up. Give it a “Database id” and then click on “OK”.
(3) Create a collection
Now that we hava database, which is really just a holder for multiple collections, we can create our collection by hovering over our database, selecting the “…” and selecting “New Collection”. The following new collection blade will appear:
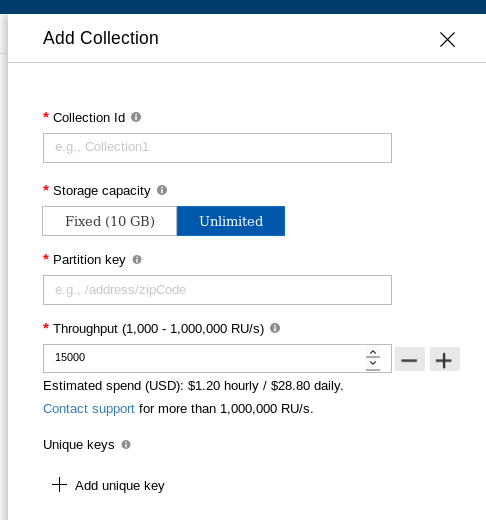
Let’s call the Coolection Id “Items”. Set the Storage capacity to “Fixed (10 GB)”. And set the throughput to “400” RU/s. This will make our bill come out to around $23.10 per month.
(4) Create a document
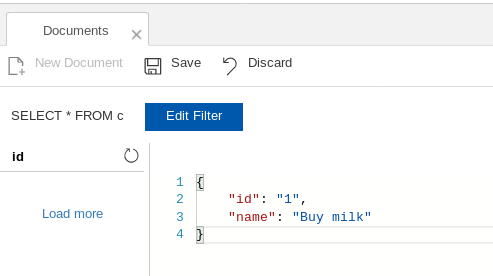
Now that we have a collection let’s add a document to it. Normally you would probably do this through code, bet we can also do this in the portal. Click on “New Document” and add the following json:
{
    "id": "1",
    "name": "Buy milk"
}
Then press “Save”.
(5) Create a query
I know we only have one document in our collection, but we can still query for it. Click on the Items collection then click on “New SQL Query” and enter in the following SQL:
SELECT *
FROM items i
WHERE i.id = "1"
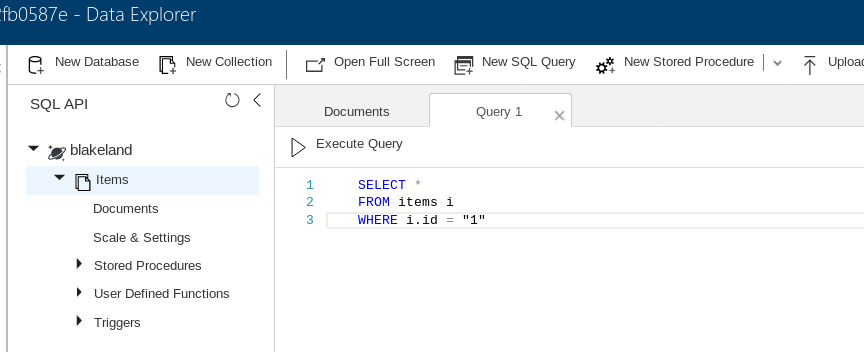
Press “Execute Query” and it should return our item.